...a laundry room makeover! In my previous post (you can read it here) I mentioned that I'd ordered a few things to update and make my laundry room (actually, laundry closet) into a room I liked looking at. I got my order on Thursday but I was dog sitting for my daughter who spent the weekend at Disney World with her husband and some friends. I didn't want to make a mess in the house while having a dog underfoot (and I mean that literally; he follows me everywhere). So I decided to get started on the work Monday morning.

I started by taking everything off the shelves, hooks, and the top of the dryer where I keep a laundry basket. I took down the shelves and gave them a good cleaning.

I took the covers off the electric outlets as well. I thought about switching out this outlet; the color is so dingy, like much of what was in this laundry closet. Ultimately I decided I wouldn't tackle that project just yet, not because I don't know how but because I was doing this on a budget and I hadn't planned on it. The outlet covers are less than $4 which was no biggie. I took a quick trip to Home Depot and got the covers along with a saw for a project I hope to do at my daughter's house.

I took a quick pic of the wall before taking the washer and dryer out. Y'all, it looked awful! I was really looking forward to covering all this nastiness. But, floors first.

I spared y'all the worst of it. This is after having scrubbed the floor and baseboards with Krud Kutter, which I highly recommend. This product actually cleaned the linoleum better than anything I'd tried before. The stains, unfortunately, are there to stay. I decided not to paint the baseboards because they're hidden behind the appliances. The floor is too, and I actually considered tiling only the front that would be seen, but it's such a small space and I didn't want the machines to be on an uneven surface.
I used vinyl peel and stick tiles. They are easy to use, easy to cut, and look really nice. This part of the project took about an hour to complete, and I'm thrilled with the results.

Isn't it gorgeous?!?! I will say this, these tiles are not the best for a high traffic area. The instructions say not to use any additional adhesive, but I don't see how you can get away with just the adhesive that's on the tile. The edges do not stick very well. I had to stand on them and press hard, and even then some did not stick as well. Since these are going under my washer and dryer I was not overly concerned, but in a kitchen or hallway where there is a lot of foot traffic, these may not be the best choice. They look and feel beautiful, though, and it really did update the room considerably. Oh, the black marks on the wall? That's caused by the washer hose. I tried cleaning it with a Magic Eraser. It would not budge.

Next was the wallpaper. I didn't stop to take pictures of the process because it was hard and tiring. Thankfully my son E helped me with this. Word to the wise: don't try to do this without some help. It will go much easier if there are two people working on this. The wallpaper is also peel and stick; similar to contact paper but not as stiff. It is, however, extremely sticky and will stick to itself. On the bottom left hand corner there where it looks like a piece is missing? That's where I didn't move fast enough, the paper stuck to itself, and when I tried to unstick it, it tore. That was the hardest part. Of course the walls aren't square or straight but we managed to get the paper pretty level by drawing a line on the wall to follow. Even cutting around screw holes and fixtures was pretty simple. This paper is meant to look like wood boards, unpainted shiplap if you will. When I put up the first shelf to see how it looked, I did a happy dance!

The wallpaper wall is an accent wall. I didn't want to wallpaper the entire closet; that seemed like too much. Once the second shelf went in and we put up the outlet covers, the washer and dryer were ready to go back in. Oh my gosh, I was so happy and excited! It looks so good! What an improvement from what it looked like before!

I know it's only wallpaper, but the difference is night and day. It's exactly what I wanted.
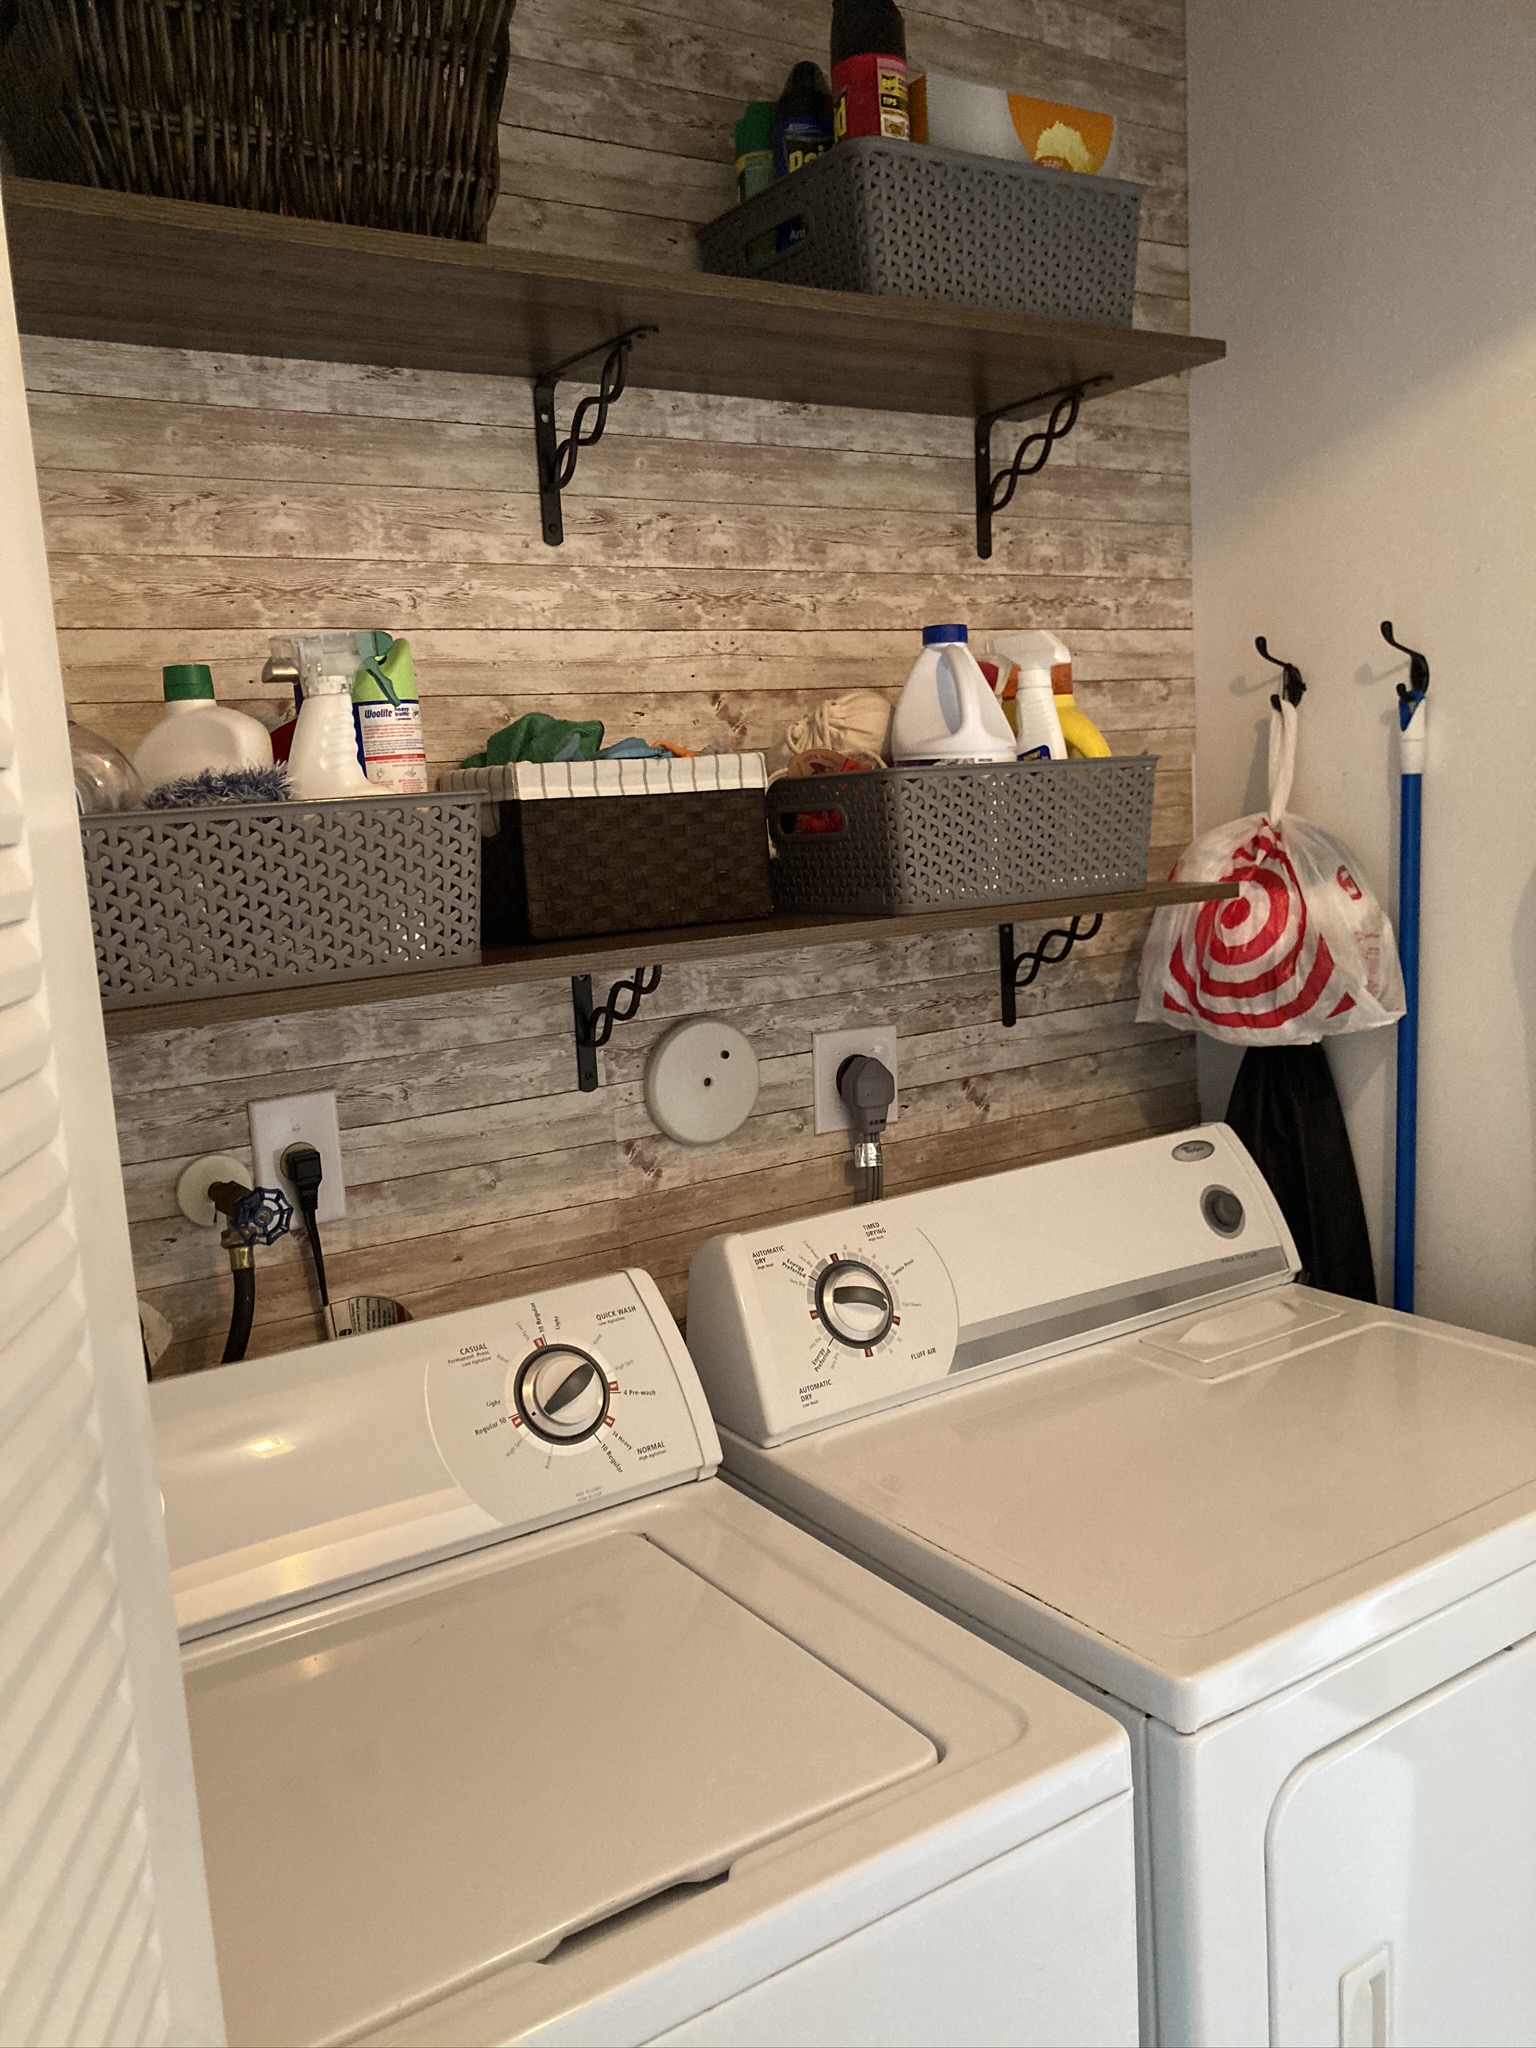
I put everything back on the shelves and I'm loving it! I might eventually switch out the plastic gray bins for wood ones. These were my daughter's from whenever she was teaching, and since she didn't want them anymore I decided I'd use them here, but I think I'd prefer wood or wicker baskets here. I'm in no rush; if I find something at the Goodwill I'll pick them up but otherwise these work fine.
As for the floors...

You just get a little peekaboo, but it makes me smile every time I look at it. There's space in between the washer and the dryer, so I'm glad I tiled the whole floor, otherwise it would have looked terrible.
This whole project cost me under $65 but to me, the transformation is priceless. It proves that it's possible to have a beautiful home on a budget. Which reminds me, the master bedroom tour is next, and that's gonna show some of my best frugal skills, so come back soon! God bless y'all.


No comments:
Post a Comment